Categories
Plumbing

How to bleed a radiator

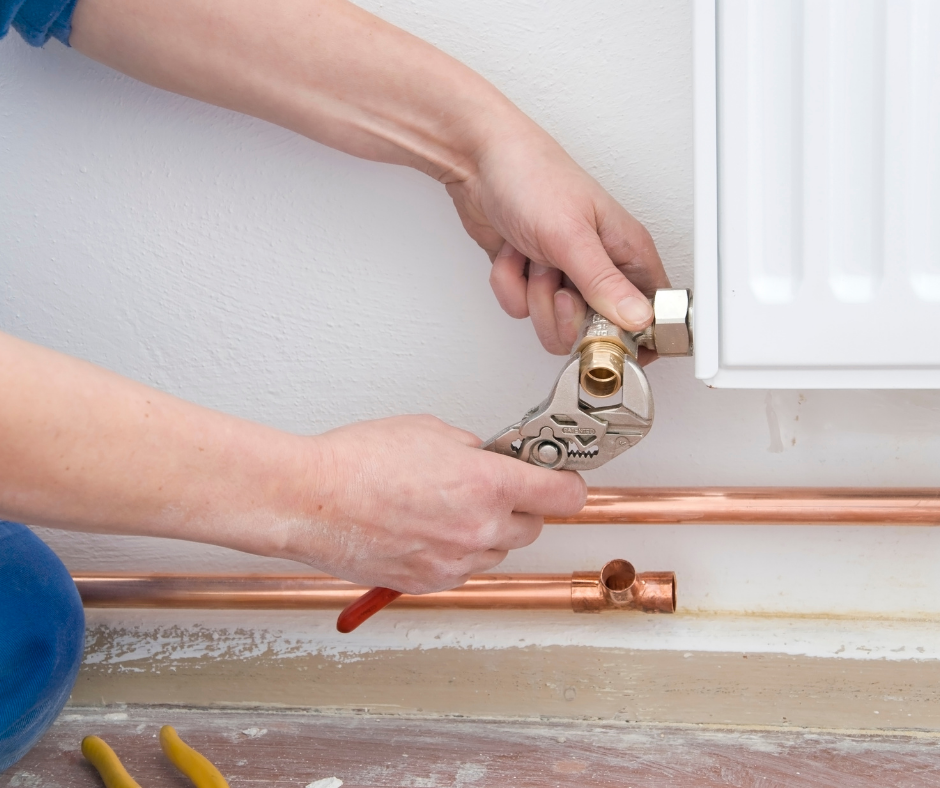
If you’re finding your radiators aren’t heating up properly it’s likely they need to be bled to combat the issue and improve your home’s heating efficiency.

Luckily, it’s a straightforward job which can be completed in a few simple steps. 

Here’s what you’re going to need:

  • Radiator key 
  • Old cloth/towel 
  • Bucket

Step one 

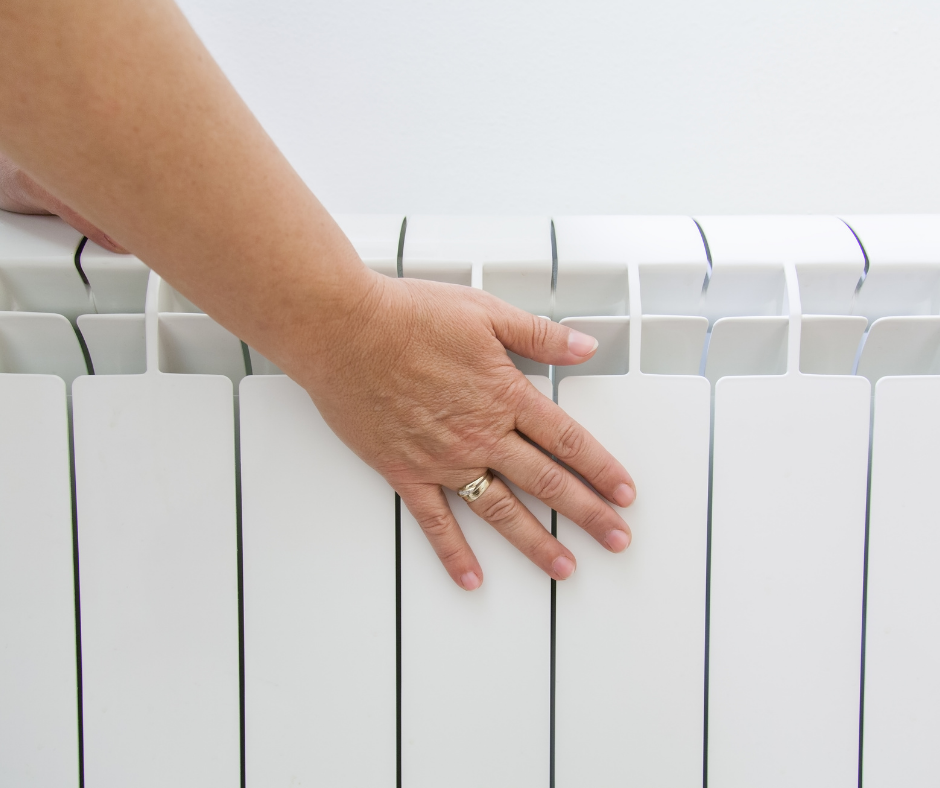
After identifying which radiators need bleeding, start with the ones furthest away from the boiler. Ensure your heating is off and all your radiators are cold before beginning! 

Step two 

Locate the bleed valve (they’re normally located at the top and look like a round hole with a square inside) and place an old cloth or towel beneath to catch any escaping water.

Step three  

Insert the radiator key and turn the valve anti-clockwise and release the air, you should hear a hissing sound. 

Step four

Once the water starts to escape and the hissing sound stops, turn the key anti-clockwise to close the valve.

Step five 

Repeat with any other radiators that need attention, making your way back to the boiler.

Step six 

Check your boiler pressure gauge. If it’s too low you’ll need to repressurise the system. However, if everything is normal you can switch the heating back on and check your radiators are all performing as they should.

There you have it – just a few simple steps to get your radiators performing as they should and your home all nice and cosy again. 


Categories
Plumbing

Why is my radiator cold?

The primary purpose of a radiator is to heat our home and keep us warm, however, sometimes this isn’t always the case. 

The most common issue faced when your home isn’t hitting temperature, is that there may be cold spots on your radiator. There are a few reasons why this issue can occur, but luckily more often than not the issue can be quickly solved and we have some handy advice to share to help you do this.

The first step to fixing the issue is identifying which part of your radiator is causing the problem as each area can have a different cause. 

Radiator cold at the bottom?

The likely cause of this is a build-up of sludge and debris, which then obstructs the hot water circulation leaving cold spots in the areas it can’t be reached. Rust, hard water and limescale can be just some of the factors leading to the build-up. 

To fix this issue you will want to perform a power flush of the radiator. Whilst this is a method that can be done at home we would always recommend if you’re unsure to get a professional in to help. 

Radiator cold at the top 

If your radiator is cold at the top, or even the top and the bottom then the likely cause is trapped air within the system. Often the air rises to the top but the hot water remains at the bottom which is how this issue is started. Luckily this is quite a simple fix, you simply need to bleed your radiator to release any of the trapped air. 

Radiator cold in the middle 

Similar to the bottom of the radiator being cold, if the middle of your radiator is cold it’s likely caused by a buildup of debris or sludge. To fix this you again need to perform a power flush, flushing the insides thoroughly to remove the build-up. 

Other things to check

  • Ensure your thermostat is set properly and that the valve has not been set to low 
  • Check the lockshield valve, located at either end of your radiator, is set correctly
  • Check the valves themselves for limescale damage
Categories
Electrical Services

Electrical upgrades to boost your home office

Has working from home become the new normal for you? If so, we imagine your home office space is very sacred. 

By now, you will be aware of how important the setup is in order to help make working from home successful, and we’re here to share with you in this blog a few things you can do electrical wise, that can really improve your home office space. 

  1. Lighting – There’s nothing worse than spending a whole day squinting. It won’t do your eyes, back or productivity any good in the long run. Good lighting is a crucial element to get right in your home office space and is definitely the first area we would suggest investing in. It doesn’t cost a great deal either – task lighting, ambient lighting and overhead lighting are all great places to start. 
  2. Ensure you have enough plug sockets – If your home office is in a room where you only have one plug socket but multiple electronic devices, this will quickly become an issue. Yes, extension cables are an option, but overpowering extension cables with a number of high powered devices is not recommended. Get in contact with a reputable electrician who will be able to quickly advise you on the best route to adding new power sockets into your home office. 
  3. Consider a hard wired internet connection – There are very few people who are fortunate to exist without ever experiencing wifi issues, however working from home in an area with poor connection and experiencing significant wifi problems is a real pain, particularly for those who regularly hold video meetings. Getting a hard wired connection provides you with a much better reliable connection, along with being safer. 
  4. Dedicated computer circuit – The majority of our homes are not built for handling working from home every day and as a result, the use of multiple high powered electronic devices can lead to your current circuit being overloaded. When circuits do trip it can lead to damage of sensitive electronics along with valuable work being lost. Having a dedicated circuit isolates your home office technology from other devices in the house, helping to keep your work from the home environment running as smoothly as possible. 

The demands of a home office can be hard on your electrics in the house. Whether it’s a small job or complete rewiring, our team has the skills and experience to ensure you have a home office fully capable of allowing you to work to the best of your ability. 


Categories
Home Maintenance

How to keep your home toasty this winter and keep the draught out!

With the cold snap continuing, there’s nothing worse than feeling a chill sweep over you when you’re at home. Whether it’s first thing in the morning or when you’re relaxing in the evening, it’s never a wanted sensation. Draughts let in cold air and also ensure the heat escapes. 

Luckily there are a number of things you can do to draught proof your house, which in turn can lead to you saving on your energy bills. 

  1. Keep the air flowing in! Yes, you read that right! Not all air coming in is bad, in fact we need airflow in our homes to keep it fresh, dry and healthy, so our first tip is to ensure that no ventilation in your home is being blocked. This can include extractor fans, wall vents and underfloor grillies.
  2. Wrap up those doors! Doors are one of the main culprits for heat escaping and often ensuring they are always closed can do the job enough. However, if you feel your doors are letting out more heat than you’d like, making small changes such as having a draught excluder for the bottom of the door, or filling in any gaps around the edges with foam or strips or even investing in a letterbox flap can help.
  3. Cover the cracks! Cracks are never a great thing for your home but can easily be fixed using cement or hard-set fillers. If the crack is a considerable size though, it’s always best to get a professional to check it over.
  4. Keep the hot air downstairs with you! Hot air rises and so by blocking off your loft hatch with strip insulation or even going a step further and looking into insulating your loft space, you will be making a big impact.
  5. Wrap up your windows! Just as you do for your doors, your windows can have gaps around them filled using foam strips. If your windows are very old a great investment for your home is replacing them too with modern, energy-efficient versions.   

Whilst there are many things you can do yourself to draught proof your home, for the best results having a professional offer their input will really help as they know exactly what to do, what to use and how to do it quickly – likely increasing your energy savings even more.

Categories
Plumbing

How to unfreeze a condensate pipe

When it gets to this time of year and the temperatures drop, frozen condensate pipes can be an unfortunate occurrence for any home. When the pipes freeze, it can often cause blockages as a result of your boiler experiencing condensation not being able to escape.

Luckily, it’s an easy problem to put right. Here’s our top tips on how to remedy the issue:

  1. Check it is a frozen condensate pipe – the error code “EA” showing on your boiler or gurgling and bubbling sounds from it are key signs your condensate pipe has frozen.
  2. Identify the blockage – it’s most likely the pipe will be frozen at its most exposed point (the open ends or bends). Simply running your hands over the exposed part of the pipe and finding the section that feels colder than the rest should help identify where the issue lies.
  3. Use warm water to unfreeze the pipe – it’s super important for this part not to use boiling water but only warm water, as using boiling water could potentially cause the pipe to crack from the extreme difference in temperatures. If you’re using water from a kettle, let it cool down for at least 15 minutes. To unfreeze the pipe, fill a jug with warm water and slowly pour this over the length of the pipe, repeating the process until the pipe thaws.
  4. Restart the boiler – once you’re sure the frozen section has been thawed, restart your boiler following the instructions in your boiler manual.
  5. All good to go! Your boiler should be back up and running, but if not, it can be because sometimes it takes a few attempts of restarting your boiler to get it going properly.

Extra tip 

If your condensate pipe isn’t already insulated, it is a good idea to wrap it in some extra towels to prevent it from freezing again immediately and then when you get chance, head to your local hardware store to grab some pipe insulation or give a member of our team a call to come out and insulate your pipes for you.

Categories
Electrical Services

Are you a victim of bad wiring in your home?

From a pesky flickering light, to a more concerning burning smell, there are a number of signs to look out for to ensure you are not a victim of bad wiring. After all, bad wiring, if left unchecked, can lead to a number of severe consequences, including the possibility of a house fire, ( more likely in older homes).

But, it needn’t get that far, just keeping an eye on your home and looking out for five signs of bad wiring can lead to catching the issue with plenty of time to rectify it. Here are our five signs to look out for:-

  1. Frequently tripping circuit breakers – Whilst it’s not unusual for your circuit to trip now and then, it can be concerning if this becomes more of a frequent issue and can be one of the most obvious warning signs to a short somewhere in your wiring.
  2. Flickering lights – Although flickering lights can be down to an issue with the lights itself, it is always one to get checked by one of our electricians as flickering lights can be a key tell-tale sign to an overloaded circuit, particularly if it’s happening to more than one light source.
  3. Hot electrical outlets – If you can feel any heat coming off your electrical outlets that is a warning sign. Whilst not always meaning bad wiring it’s always recommended to get checked out – better to be safe.
  4. Frayed or chewed wiring – Just like us, as wires get older they begin to deteriorate, however, if left unchecked, they can become a major fire hazard and cause further problems with the rest of the wiring in your home.
  5. Burning or smoking type smells – If you detect any form of burning odour from your appliances or plug sockets it’s best to minimise all risk by turning them off immediately and contacting Exeter Property Maintenance to come and check the item(s). As most electrical wiring features plastic installation, the burning smell can be signaling there can be an issue inside of the walls causing this to burn and create the smell.

If you notice any of these issues, whether on their own or together, we would always recommend getting a qualified electrician to attend and carry out an electrical installation condition report (EICR). Not only does this guarantee your safety, but it also guarantees the issue is identified and solved in the quickest and most effective manner.